Before & After Component Instructions
Before & After Component Instructions

Carlos Granada
Created 1 day ago • Updated 1 day ago
Overview
The Before & After Slider lets you compare two images by dragging a handle left or right — perfect for showing changes like:
Home makeovers
Smile transformations
Skin or beauty results
Fitness progress
Product improvements
This feature works great on desktop and mobile. You don’t need coding skills — just follow the steps below!
How to Add it to Your Page
Add the widget layout
Open your Go High Level page.
Add a new section where you want the slider.
Inside it, add a 1-column row.
Click on the row and in the settings, add this class: img-comp__container
Add the Slider Pieces (In Order!)
Inside that column, insert the following elements in this exact order:
Image, Label it “Image - After” (what you want users to see on the right).
Image, Label it “Image - Before” (what you want users to see on the left).
Divider Line, Add these classes: img-comp__divider and slider-mover.
SVG, Label: “Left - SVG”, add these Classes: arrow-center and slider-mover.
From the element General Settings update the margin top to be -10px
From the element General Settings update the margin left to be -16px
From the element General Settings update the width to be 8px and the height to be 20px
Open the SVG Editor → Raw Editor and replace the SVG below there
SVG, Label: “Right - SVG”, add these Classes: arrow-center and slider-mover.
From the element General Settings update the margin top to be -10px
From the element General Settings update the margin left to be 8px
From the element General Settings update the width to be 8px and the height to be 20px
Open the SVG Editor → Raw Editor and replace the SVG below there
⚠️ Make sure both images are the same size for a smooth experience.
⚠️ Make sure to disable the Optimize Image Load for both images when you add them.
Here is the left SVG icon:
Here is the right SVG icon:
Add the Styling
To make the slider look and function properly, you’ll need to add the provided styling code. It’s a quick copy-paste — no coding needed!
Just do the following:
Go to the top menu and click Custom CSS
Paste the full CSS code into the box
/* Compare Image Slider Configurations */
    :root {
      --slider-before-after-divider-color: white;
      --slider-before-after-divider-width: 6px;
      --slider-before-after-width: 536.75px;
      --slider-before-after-height: 536.75px;
    }

    /* Start Before and After Slider Styles */

    .img-comp__divider,
    .slider-mover {
      touch-action: none;
      user-select: none;
    }

    .absolute {
      position: absolute;
    }

    .right-middle {
      right: 50%;
    }

    .c-svg:has(.arrow-center) {
      position: absolute;
      z-index: 100;
      left: var(--before-after-dynamic-position, 50%);
      top: 50%;
    }

    .img-comp__container {
      width: var(--slider-before-after-width, 536.75px) !important;
      display: flex;
      justify-content: center;
    }

    @media screen and (max-width: 767px) {
      .img-comp__container {
        width: 100%;
      }
    }

    .mobile-preview .img-comp__container {
      width: 100%;
    }

    .img-comp__container .inner {
      --container-width: var(--slider-before-after-width, 536.75px);
      --container-height: var(--slider-before-after-height, 536.75px);
      position: relative;
      max-width: var(--slider-before-after-width, 536.75px);
      aspect-ratio: 3/2;
      margin: 0 auto;
      min-height: var(--slider-before-after-height, 536.75px);
    }

    @media screen and (max-width: 767px) {
      .img-comp__container .inner {
        max-width: 100%;
      }
    }

    @media screen and (max-width: 767px) {
      .img-comp__container .inner {
        min-height: 437px;
      }
    }

    .mobile-preview .img-comp__container .inner {
      min-height: 437px;
      max-width: 100%;
    }

    .img-comp__container .c-image {
      position: absolute;
      width: 100%;
      height: 100%;
      overflow: hidden;
    }

    .img-comp__container.rounded-image .c-image {
        border-radius: 5px;
    }

    .img-comp__container .c-image:nth-child(2) .image-container {
      width: var(--container-width);
      height: var(--container-height);
    }

    #page-creator .img-comp__container .c-image .image-container {
      width: 100% !important;
      z-index: 100;
    }

    #page-creator .img-comp__container .c-image:nth-child(2) .image-container {
      position: absolute;
      left: 0% !important;
      height: 100% !important;
    }

    .img-comp__container .c-image img {
      display: block;
      width: var(--container-width);
      height: var(--container-height);
      object-fit: cover;
      transition: opacity 250ms ease;
    }

    .c-divider:has(.img-comp__divider) {
      height: 100%;
      height: var(--container-height);
      padding: 0;
    }

    .img-comp__divider {
      position: absolute;
      cursor: ew-resize;
      display: flex;
      align-items: center;
      justify-content: center;
      width: var(--slider-before-after-divider-width, 6px);
      height: 100%;
      background-color: var(--slider-before-after-divider-color, white);
      opacity: 0.9;
      top: 50%;
      left: 50%;
      transform: translate3d(-50%, -50%, 0);
    }

    .img-comp__divider .divider-element,
    .img-comp__container .divider-element {
      width: var(--slider-before-after-divider-width, 6px);
      height: 100%;
      background-color: var(--slider-before-after-divider-color, white);
    }

    #page-creator .img-comp__container {
      position: relative;
    }

    #page-creator .img-comp__container .c-divider {
      position: absolute;
      top: 0;
      bottom: 0;
      left: 50%;
      width: var(--slider-before-after-divider-width, 6px);
      transform: translateX(-50%);
      z-index: 101;
      padding: 0;
    }

    #page-creator .img-comp__container .c-image:nth-child(2) {
      clip-path: inset(0% 50% 0% 00%);
    }

    /* End Before and After Slider Styles */
Activate the Slider
To make the slider work, you must add a small code snippet. Don’t worry — no coding skills needed!
Just follow these simple steps:
In the same column (under the images), add a “Custom Code” element.
Paste the provided JavaScript code into it.
That’s it — the slider will now work!
Customizing Your Slider (Optional)
You can adjust the layout, spacing, and general styling directly in the GHL editor — just like any section or image.
For more advanced style options (like color, size, or divider thickness), you can modify the CSS variables inside the Custom CSS section.
Go to Page Settings → Custom CSS , and look for the section labeled:
/* Compare Image Slider Configurations */
:root {
  --slider-before-after-divider-color: white;
  --slider-before-after-divider-width: 6px;
  --slider-before-after-width: 536.75px;
  --slider-before-after-height: 536.75px;
}
Here’s what each variable controls:
--slider-before-after-divider-color: Changes the color of the divider line (e.g., #ffffff, rgba(0,0,0,0.5))
--slider-before-after-divider-width: Adjusts the thickness of the divider line (e.g., 4px , 6px)
--slider-before-after-width: Sets the overall width of the slider (e.g., 500px, 100%)
--slider-before-after-height: Sets the height of the slider (e.g., 400px, 300px)
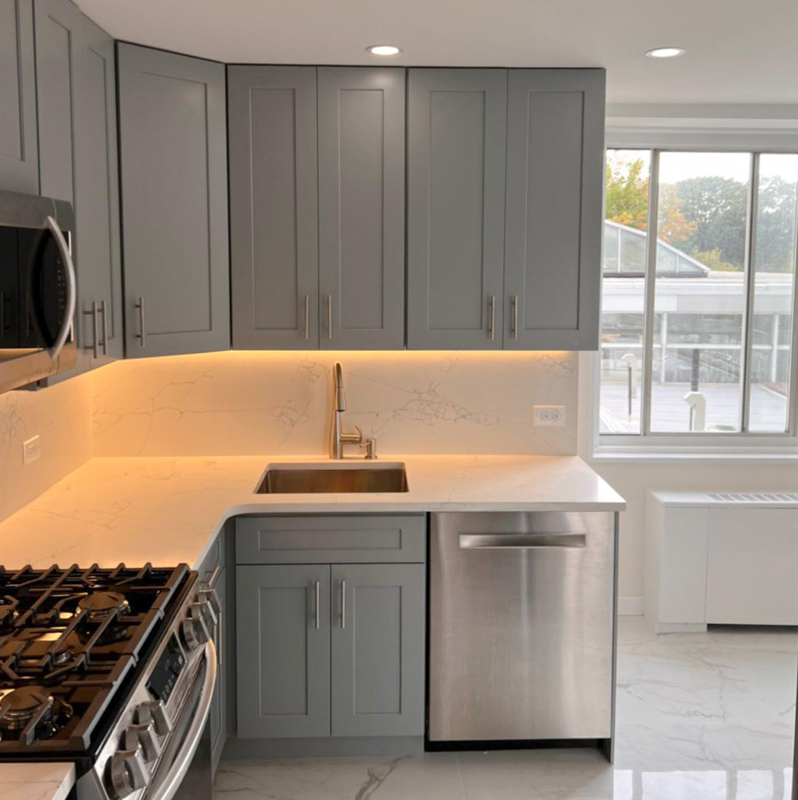
Live Preview of the Before & After Slider